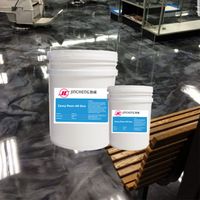
3 Gallon Liquid Glass Epoxy Clear Cast Resin Clear Epoxy for Flooring
-
$5.61 / 5 - 999 sets
$5.37 / 1000 - 9999 sets
$5.13 / >=10000 sets - 5 sets
- Huizhou Jincheng Composite Materials Co., Ltd.
- Guangdong, China
- Ms Shannon F
Product Detail
| Packaging Details: | 5kg per bottle and 20kg in groups of 20kg, 25kg and 200kg are also available. | model: | 1201AB |
| port: | Shenzhen | payment terms: | L/C,Western Union,D/P,T/T,Paypal |
| Classification: | two-component adhesive | type: | two components |
| Shelf life: | 6 months | place of origin; place of origin: | Guangdong, China |
| feature: | DIY | Minimum order quantity: | 1 gallon |
| application: | decorate | Other names: | epoxy resin |
| CAS number: | 38891-59-7 | Packaging Preview: | |
| brand: | JC | Supply capacity: | 10 tons per day |
| IF: | C15H16O2C2H7ONC3H5OCl | EINECS number: | 231-072-3 |
| color: | transparent | Material: | epoxy resin |
| usage: | Construction, Fiber and Apparel, Footwear and Leather, Packaging, Transportation, Carpentry, Decoration | The mixing ratio: | A:B=1:1 |
| main ingreadient: | epoxy resin |

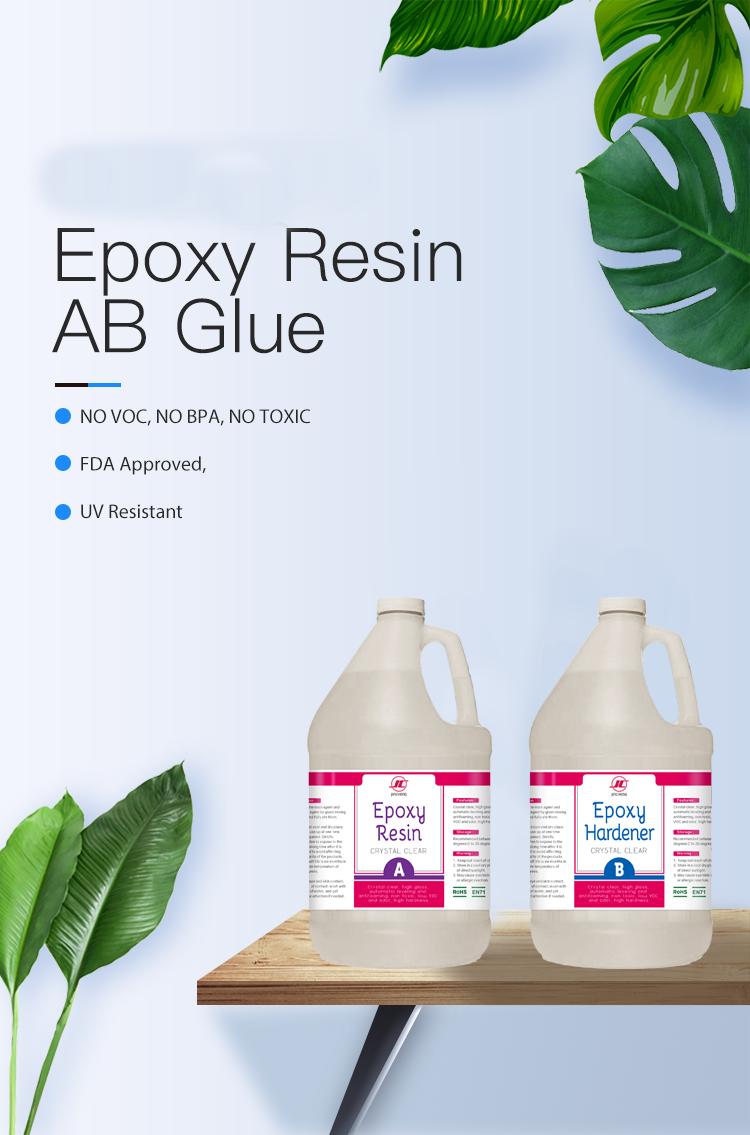
We manufacture high quality epoxy resins with UV protection stabilizers to prevent yellowing. As artists ourselves, we want to know that we are using a fresh, high-quality product. Unlike competitors, all Jincheng resins come with a brew date label, so you can know how old your product is. We 100% support all our products
describe
Section ( 1201) | One | Second | |
color | transparent | transparent | |
Viscosity (25℃) | 2000-4000CPS | 100MAX CPS | |
The mixing ratio | A:B = 1:1 (weight ratio) | ||
hardening condition | 25℃×8H to 10H or 55℃×1.5H (2g) | ||
available time | 25℃×40min (100g) | ||
Hardness, Shore D | <86 | ||
Bending strength, Kg/mm2 | 28 | ||
detailed image
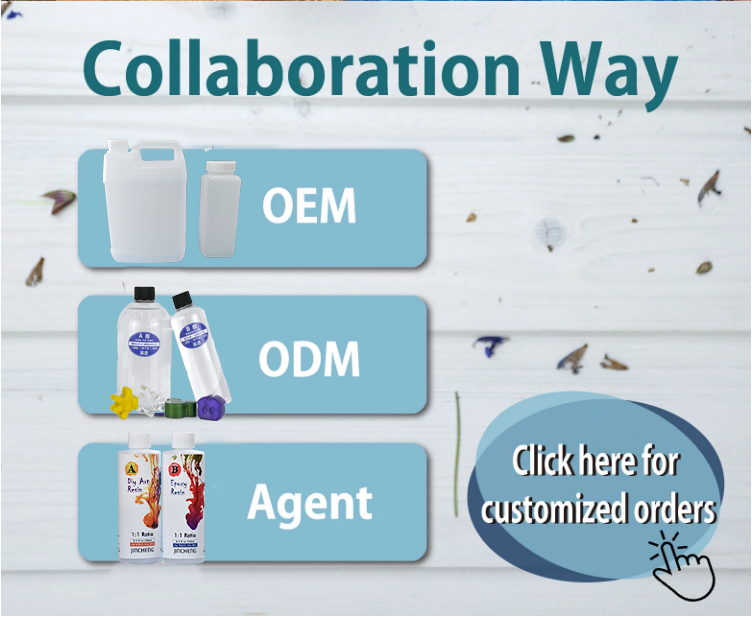
Our factory supports customized OEM/ODM product packaging of various specifications
If you want a free sample, please click here.
If you want a free sample, please click here.
If you want a free sample, please click here.
Easy-to-use 1:1 formula, no experience required
Step 1: Measurement
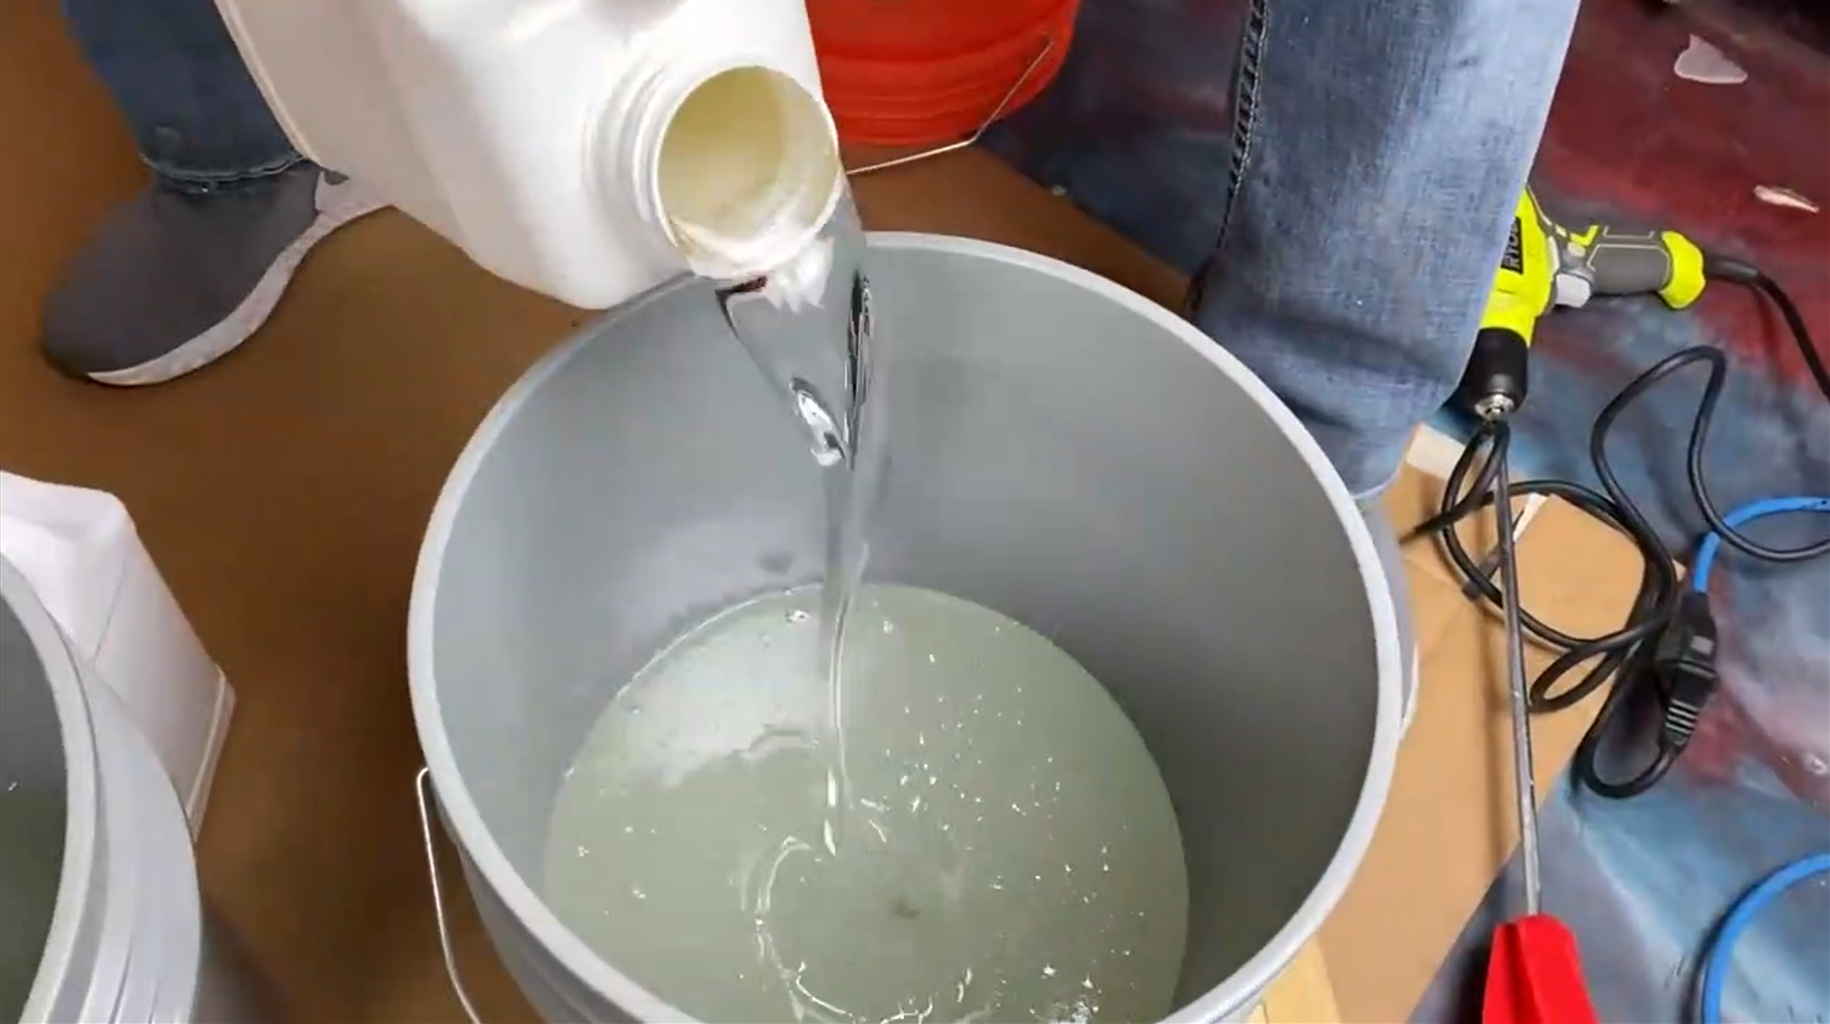
Use a 1:1 ratio (by volume) to pour equal parts resin and hardener into a clean mixing container or graduated mixing bucket.
It is critical to accurately measure the product and mix thoroughly. Measure 1 part resin to 1 part hardener by volume. don't want
Change this ratio. Our epoxy formulations cure in specific mix ratios, any differences may result in a product that will never
Completely cured. We recommend always pouring the hardener into the mixing container before pouring the resin. This will help
The two ingredients are well mixed.

Step 2: Mix
First Mix: Mix with a flat-bottomed whisk or spatula, making sure to scrape the sides and bottom of the container as you go. Your
The mixture will appear cloudy at first, then become more transparent as the resin and hardener molecules begin to mix
Three to five minutes.
Second Mix: Pour the resin and hardener from the first container into the second container and scrape all the mixture out of the container
sides and bottom of the cup. Mix well for another three minutes.

Step 3: Seal Coat Stage
The best way to apply the seal coat is to start at one end of the table and pour the resin over the entire surface in a zig-zag pattern
when you go. Then use a foam brush to drag the resin across the entire surface for an even coat. Epoxy curing equivalent
Puts in the container quickly, so it is necessary to apply a seal coat quickly or mix a small amount so that it does not cure
in the container while you're still working on it. The seal coat does not need to be smooth as the water repellent coat will fill
Strokes and irregularities make it crystal clear. After the entire surface is sealed, wait 4-6 hours to pour the waterproof paint
Ton. Do not exceed 10 hours or you risk the waterproof coating not blending into the seal coat perfectly.

Step 4: Flood Clothing Stage
Each waterproof coating is self-leveling approximately 1/8 inch thick. Multiple coats are required if thicknesses greater than 1/8 inch are required. you
You must wait at least 4 to 10 hours between waterproof jackets. The epoxy is still sticky so the next pour will stick to it.
The best way to apply a waterproof coating is to start at one end and pour the resin over the entire length of the surface, as you twist
go. After pouring, put the container down. Don't try to scrape anything else out of the barrel. Because you are
Pour in approximately three times the amount of the seal coat product and the material will immediately begin to flow.

Step 5: Remove Air Bubbles
Once you have adequately covered the entire surface with the waterproof coat, you will begin the process of popping the air bubbles. This
The best tool for removing air bubbles is a small propane torch. Hold the flame about 6 to 10 inches from the table top, then
Use the ironing motion to quickly sweep across the surface. You will immediately see the bubbles begin to pop. do this until
All air bubbles are gone from your desk surface.
* After pouring epoxy, air bubbles usually form. Bubbles can continue to develop after up to 60 minutes
The curing process has already started. The most effective way to get rid of them is to occasionally run a blowtorch over the surface for 10 - 15
every minute.

Step 6: Curing Process
After the last coat has been applied, the product should be kept in a clean, dust-free environment of at least 75-80°F. This
The product takes about 12-14 hours to feel dry to the touch. However, at least the product should not be put into any use
For three days, this will give it enough hardness to resist scratches. At temperatures below 75 F, the product will
It takes longer to cure and may not cure to full hardness.
*Not suitable for outdoor use
NOTE: All epoxies have a natural color variation or tint. Surface color may be minimized or highlighted with epoxy
tone. White surfaces are always the most challenging job when it comes to accentuating epoxy tones. White itself has a lot
tone. The appearance of the white surface after applying the epoxy is also the most affected by light. Example LED
"Daylight" bulb lighting compared to "Soft/Warm" lighting.

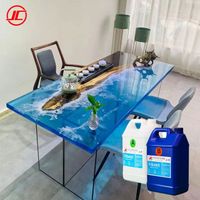
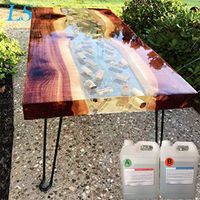
Epoxy resin for floor

The title is here.
Semi-automatic PET blow molding machine bottle machine bottle machine PET bottle making machine is suitable for producing PET plastic containers and bottles of various shapes.

Simple and fast application:
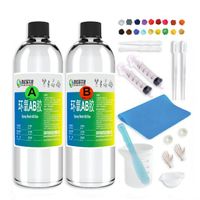
Color epoxy is a two-component system. 2:1 ratio.
Each specially packaged kit comes with 3 cans, 2 resin "A" parts and 1 hardener "B" part.
Each order comes with step-by-step mixing and application instructions.
Colored epoxy has a pot life of 40 minutes.
Each specially packaged kit comes with 3 cans, 2 resin "A" parts and 1 hardener "B" part.
Each order comes with step-by-step mixing and application instructions.
Colored epoxy has a pot life of 40 minutes.
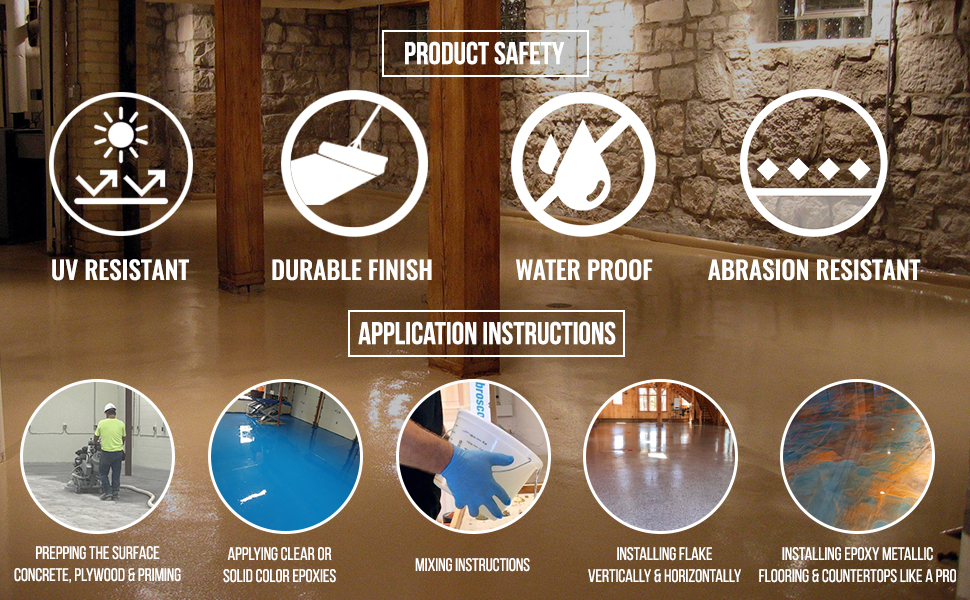
Colored Epoxies is a manufacturer of custom modified two-component flexible epoxy floor systems with a 2:1 mix ratio. 2 parts A resin to 1 part B hardener. Colored epoxy resins are 100% solids and VOC free. Colored Epoxies are uniquely formulated with their cycloaliphatic resins and modified cycloaliphatic curing agents to provide some of the most UV protection and chemical resistance on the market. Coloredepoxies are epoxy professionals' trusted first choice for installation, epoxy metal floors, laminate floors, solid color floors, countertops and more. Dip and roll coverage is 350 sq. ft. per gallon, and the scraper applied varies between 125-175 sq. ft. per gallon. Use clear or colored colored epoxy as PRIMER/MVB moisture barrier coatings and topcoats. No additional primers required! ColoredEpoxies installation instructions are included with every purchase order, and you will learn step-by-step all unique application techniques from preparing concrete surfaces to primer, multi-color metal installation, flake coverage, various flake sizes, mica, quartz and glitter easy to follow pictogram layout.
VIEW MORE
Related Products
-

Recina Epoxica Para Pisos Epoxy AB Glue Self-Leveling Floor Kit for Concrete and Cement Floor Coating
application: metal floor Product Category: 2 parts Performance: No yellowing Packaging details: 5kg bottles, 20kg sets, also available in 20kg, 25kg and 200kg. IF: C15H16O2C2H7ONC3H5OCl port: Shenzhen brand: Jie Cheng EINECS number: 231-072-3 Classification: Two-component adhesive The mixing ratio:.... -
Supplier Epoxy Resin Deep Cast Crystal Clear / Epoxy Resin - Table Top
EINECS number: 231-072-3 MOQ: 10 kg brand: Jiecheng Classification: two-component adhesive main ingreadient: epoxy resin port: Shenzhen Material: epoxy resin Origin: Guangdong, China model: 312AB-6-N Package preview: feature: DIY color: transparent payment terms: L/C, Western Union, D/P, T/T,...... -
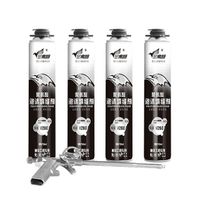
Jinyingxiang M260 PU foam factory fireproof strong expansion flexible high-power polyurethane foam
Element: One-component polyisobutyl sealant pack: 15pcs/box Curing time: 24 hours application: sealed structure Shelf life: 12 months Classification: other adhesives Origin: Hubei, China OEMs and Design Manufacturers: usable payment terms: Western Union, T/T, MoneyGram Packaging Details: 750ml;...... -
Strong glue ab glue transparent liquid crystal epoxy resin good quality and good price
payment terms: L/C, Western Union, D/P, D/A, T/T, MoneyGram Classification: other adhesives Other names: Adhesive model: 312AB-H3 type: Resin 312A-H3/curing agent 312B-H3, AB glue product name: The mobile phone case uses leveling epoxy resin glue AB glue Mixing ratio (volume ratio): 2.7:1 Viscosity.... -
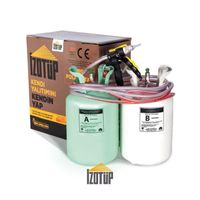
Spray Foam Insulation Polyurethane Foam Kit (650-215 Board Feet) Izotup 200 Quick Rise (QR) with Mask Cylindrical Tube Material
Classification: two-component adhesive Packaging Details: Free replacement for quality problems according to international standards size: 41 lbs / 16" x 16" x 9" / 215 BdFt Origin: Kocaeli, Türkiye type: closed cell foam Thermal Conductivity: 0.020 Watt/(mk) Closure rate: >95% brand: Izotap Foam...... -
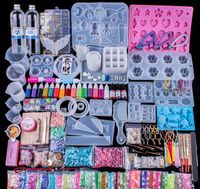
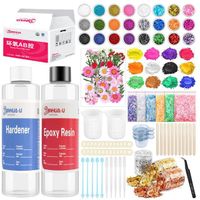
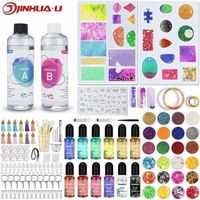
Beginner's Epoxy Kit with Resin Glitter and Accessories
Packaging Details: 236ml 50pcs per carton port: Shenzhen, China usage: Construction, Fibers & Clothing, Footwear & Leather, Packaging, Shipping, Woodworking color: to clear MOQ: 50 sets EINECS number: 231-072-3 Supply capacity: 10 tons per day Package preview: Key words: epoxy resin Other names:...... -
100% Pure Epoxy 2 Part Epoxy Best Furniture Wood Glue Adhesive
main ingreadient: epoxy resin usage: Construction, Fibers and Clothing, Footwear and Leather, Packaging, Transport, Carpentry Origin: Guangdong, China Advantage: Bubble-free self-leveling IF: (C11H12O3)n MOQ: 100 kg Conditions for cure: Room temperature Other names: Epoxy AB resin Packaging...... -
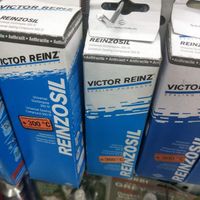
GASKET MAKER REINZOLIL Rtv Silicone Sealing Tape Blue Box
Classification: other adhesives color: black/white/transparent/blue/red/gray EINECS number: 210-898-8 Shelf life: more than 12 months brand: AURE,SUPER.,MAG BARDO BOSS AB MAGTOOLS or OEM type: 85g gasket machine Other names: Blue Silicone Gasket Machine Packaging Details: Card: 56.8g/pair (1...... -
Hot Sale Crystal Epoxy Starter Kit for DIY Jewelry Including Silicone Molds and Pigments for Art Epoxy Craft Resin
main ingreadient: epoxy resin brand: Jinhua IF: C15H16O2C2H7ONC3H5OCl Classification: two-component adhesive usage: Footwear and Leather, Packaging, Woodworking, Jewelry CAS number: 38891-59-7 volume: 240ml+240ml payment terms: L/C, Western Union, D/P, D/A, T/T, MoneyGram application: DIY crafts...... -
Easy Mix 1:1 Resin Epoxy Starter Kit Crystal Clear Casting and Coating Epoxy for Jewelry Making, Arts, Crafts
color: transparent The mixing ratio: A:B=2:1 or 3:1 brand: Jin Huaxing Shelf life: 12 months Material: Epoxy resin + curing agent payment terms: L/C, T/T Supply capacity: 10 tons per day usage: Construction, carpentry, deep pour epoxy Origin: Guangdong, China feature: VOC free CAS number: 7085-85-0....